Bi-Directional Data Transfer on Arduino: A Beginner's Guide
- Sahil

- Apr 24, 2023
- 4 min read
Bi-directional data transfer is a type of communication where data can flow in both directions between two devices or systems. In this mode of communication, both devices can send and receive data simultaneously, allowing for a two-way exchange of information. A bi-directional data channel can be helpful in many applications, including controlling stepper motors directly from a PC. This can be especially helpful in automation, robotics, and other projects that require precise motor control. Other potential use cases for a bi-directional data channel from a PC to an Arduino include data logging, sensor monitoring, and remote control of various devices. By establishing a reliable communication link between your computer and an Arduino board, you can create various interactive and responsive projects by leveraging an Arduino microcontroller's small size and direct GPIO (General Purpose IO) pins in conjunction with the processing power of a real computer.
Establishing a Connection
An Arduino or Arduino-compatible microcontroller such as the Teensy line of microcontrollers has a serial connection by default through the USB port that is used to program it. The Arduino IDE has a built-in serial interface that is generally used to report sensor data to the user or as a command line to debug or print program status.

You can utilize the same protocol to communicate with the board in many languages using a Serial IO library. This allows the creation of automated programs or front-end skins that can take advantage of the serial interface.
Python Serial
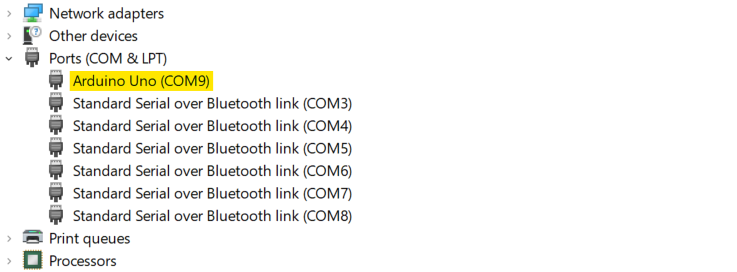
For the purposes of this guide, we will use Python and the pyserial library due to its ease of use. The next step is to create a program that has an event loop to receive and send messages. For the purpose of my 6-DOF Robotic Arm project, I created a simple wrapper class to enhance the pyserial library with some additional features. This wrapper can be used in conjunction with a separate thread dedicated to sending and receiving serial data. The serial port name can be determined in the device manager.
To establish and test a connection, we can use an Arduino sketch that simply pings back any data received through the serial port.
void setup()
{
    Serial.begin(9600);
}

void loop()
{
    if (Serial.available())
    {
        String receivedString = Serial.readString();
        Serial.println("Received: " + receivedString);
    }
}
Along with this, we can create a simple Python program that uses the wrapper class to read and write to the serial port.
import modules.serial_io as serial_io
import time
import threading
serial = serial_io.ArduinoSerial('COM9')
def read_loop(serial):
while True:
data = serial.read()
time.sleep(0.1) # Sleep to prevent the loop from running too fast
# Parse and execute any commands received here
# Start the read loop in a new thread
read_thread = threading.Thread(target=read_loop, args=(serial,))
read_thread.start()
# user input loop
while True:
command = input('')
serial.send(command)
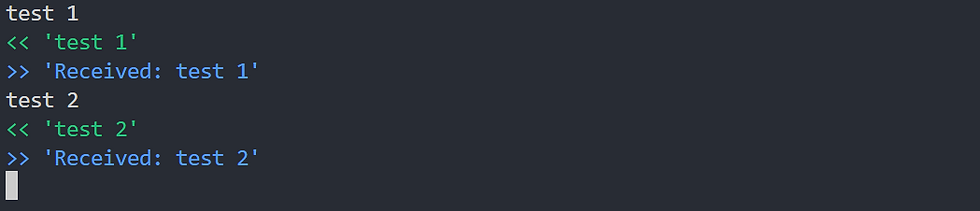
time.sleep(0.1) # Sleep to prevent the loop from running too fastThis program creates a console for the user to type into to send commands to the Arduino and receive commands back from the Arduino. As a bonus, it uses ANSI color codes to be more readable; green represents sent commands and blue represents received commands.
Bluetooth Serial
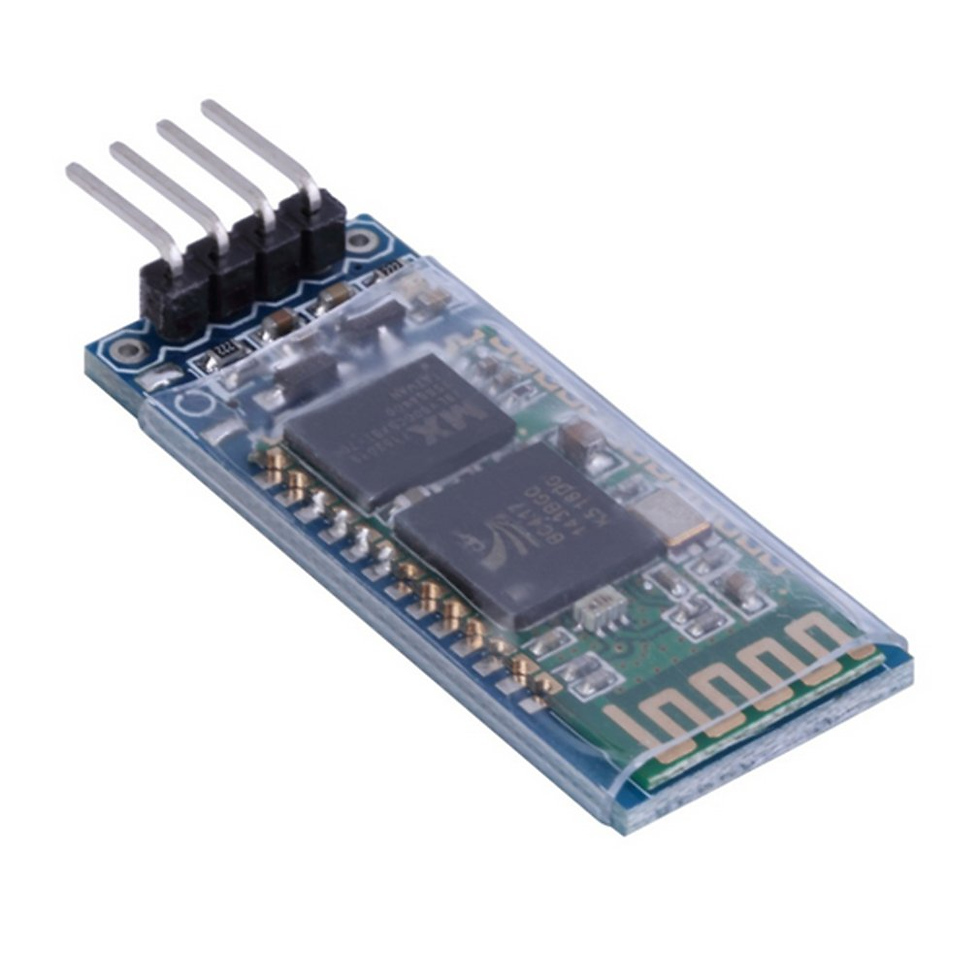
The basic functionality of serial over USB can be easily replicated with a Bluetooth transceiver. To use one of these, connect its voltage supply to 3V3 (these modules tend to not support 5V at all), GND to GND, Tx to Rx, and Rx to Tx. The reason we swap Tx and Rx is that the transmit pin of one device should be connected to the receive pin of the other device. Since there is a separate connection for each direction of communication, this type of connection is referred to as 'Full Duplex'. This Bluetooth serial connection can be treated essentially the same as a hardware serial connection and adds the benefit of being able to execute code and receive data without being tethered to the Arduino device.
Applications
The bi-directional data transfer capability provided by a serial connection between a PC and an Arduino can be leveraged in various applications. Here are a few examples:
Controlling and monitoring the movement of robotic arms or other automation systems. The PC can send commands to the Arduino to control the movement of motors and the Arduino can send feedback on the position or state of the system back to the PC.
Monitoring sensor data from the Arduino and sending them to the PC for monitoring and analysis. This can be useful in applications such as weather monitoring, air quality monitoring, and home automation/security.
Logging data from sensors or other devices connected to the Arduino and transmitting it to the PC. The PC can then analyze the data and provide insights or make decisions based on the collected data.
Remotely controlling various devices such as lights, motors, and sensors connected to the Arduino. The PC can send commands to the Arduino to control the devices, and the Arduino can return feedback on the state of the devices back to the PC.
Creating user input devices for interactive projects. For example, a game controller can be built using an Arduino; the PC can receive input from the controller and respond accordingly.
Overall, the bi-directional data transfer capability provided by a serial connection between a PC and an Arduino opens up a wide range of possibilities for building interactive and responsive projects that leverage the processing power of a PC and the direct control of GPIO pins provided by an Arduino microcontroller.


Comments